Horde Defenders Heroes Guide
Warden, Marksman, and Sentinel — AI control, possession timing, and strike synergies that save failing lanes.
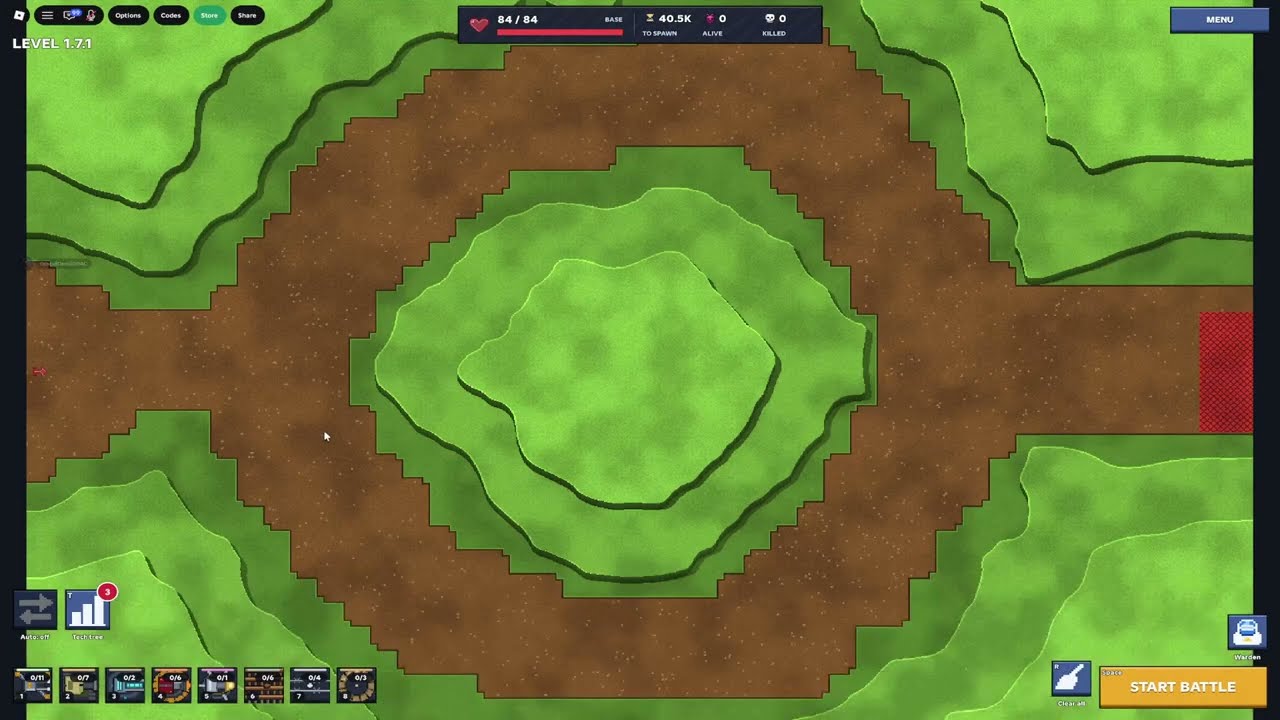
Heroes turn Horde Defenders from pure turret management into a hybrid of tower aim and character play. Warden, Marksman, and Sentinel can fight on AI or under your direct possession while strikes punch holes in clumps the guns cannot clear alone. This guide explains how heroes fit the manual-aim fantasy, when to possess, how to sync abilities with Barricade funnels, and how to avoid losing the lane while you are busy being a hero.
Read this after Getting Started and How to Aim. Individual kits live on Warden, Marksman, and Sentinel. Rankings sit on the heroes tier list and the wider Players Hub.
What heroes change about the game
Towers still require your aim. Heroes add a second actor that can:
- Hold a side lane while you track the main column.
- Dive a boss phase with abilities while elevated guns keep adds thin.
- Spend strike cooldowns (drone strikes, meteors, ripsaws, salvos, stasis fields) at decisive moments.
They do not replace high ground or funnels. A hero dropped into a flat, scattered defense still loses when you look away. Build the map first using High Ground, then layer a hero.
AI versus possess
Leave them on AI when
- You are still learning column tracking and cannot spare attention.
- The main lane needs constant Sentry or Howitzer focus.
- You only need light pressure on a secondary approach.
- You are mid-strike animation and need the hero to keep auto-behaving briefly.
AI heroes are helpers, not win buttons. Check occasionally that they are not idling out of range or dying to a pack you ignored.
Possess when
- A boss phase demands precise ability timing.
- A leak is forming and you need an active body plus abilities on that spot.
- You want to manually aim a hero kit the same way you aim towers.
- Strikes need to land on a stacked chokepoint you can see better in possess view.
Before possessing, park tower aim on the densest safe column or on the funnel mouth. That way, when you return from the hero, the guns are still pointing at something useful. Full input notes are on Controls.
Roster overview
Warden
Warden leans into durable front-line presence. Use Warden when Barricades need backup and you want a hero who can stand near the wire line. Possess Warden to hold a breach while you retarget towers onto the overflow. Details: Warden.
Marksman
Marksman rewards players who already like precise aim. If you are comfortable with Sentry tracking, Marksman possession feels natural: pick elites, clip bosses, then return to tower aim. Keep Marksman on AI when your Howitzer needs full concentration. Details: Marksman.
Sentinel
Sentinel fills flexible support and control niches depending on the current alpha kit tuning. Use Sentinel when you need another tool for lane stability rather than raw hero DPS. Confirm ability labels in your build — alpha patches can retune numbers. Details: Sentinel.
Compare relative strength on heroes tier list after you have tried each once; tier pages change with patches faster than this overview.
Strikes as force multipliers
Strikes are shared emergency systems that pair with both towers and heroes:
- Drone strikes — fast response on a marked clump.
- Meteors — heavy area denial on stacked chokepoints.
- Ripsaws — cutting tools for dense ground packs (use when bugs are funneled).
- Salvos — burst waves against elites or boss add spawns.
- Stasis fields — freeze or slow a lane so your aim and Barricades catch up.
Strike timing rules
- Wait for bugs to stack on Barricade, Barbed Wire, or Tar — empty-ground strikes waste value.
- Call the strike, confirm the clump died, then re-acquire tower aim immediately (How to Aim).
- Do not possess a hero and fire every cooldown blind; see the lane first.
- Save at least one panic tool for boss add waves on world finales.
Codes sometimes grant Boosters that make long sessions smoother while you practice hero timings — check Codes and How to Redeem.
Synergy loadouts
Beginner synergy
- Elevated Sentry + Barricade funnel
- Hero on AI near the funnel
- One strike reserved for the first elite leak
- Focus: learn possess entry and exit without losing the column
Mid-campaign synergy
- Sentry or Railgun on high ground, Howitzer lobbing into wire
- Tar Lobber to help Howitzer leads and stasis setups
- Possess Marksman for elites; leave Warden concepts for breach holds as you unlock comfort
- Cross-check picks on tier list and early-game tier list
Late / Endless synergy
- Layered Barricade + Barbed Wire with elevated DPS
- Hero possession windows planned around boss-like spike waves
- Strikes used on schedule, not on cooldown greed
- Full Endless notes: Endless Mode
Heavier towers such as Dreadnought and Stormcaller, plus community-reported options (Inferno, Hive, Nest, Burst Cannon), should support the same funnel the hero defends. Do not place a hero on the west lane and all guns on the east lane.
Attention budget — the real hero skill
The hidden resource is attention:
| Focus | Good for | Risk |
|---|---|---|
| Towers only | Learning aim, early maps | Misses hero damage |
| AI hero + tower aim | Most campaign clears | AI may idle |
| Possess hero | Bosses, breaches | Towers go cold if mis-parked |
| Strike spam | Panic clumps | No tool left for true emergencies |
Train a rhythm: ten seconds tower track, quick AI check, possess only on triggers, strike on stacks, return to track. That rhythm clears more of the 59 levels than any single “best hero” claim.
Alpha caveats
Horde Defenders is an alpha from Horizon Studios. Ability names, cooldowns, and unlock order can change. Community notes about refunded tech trees apply to meta progression, not to the existence of Warden, Marksman, and Sentinel themselves — but always verify costs in your client. Skins from codes do not alter kits.
When a patch ships, skim Updates and re-check the heroes tier list before rewriting your muscle memory.
Practice drills
- Clear a familiar map with hero on AI only — zero possesses.
- Repeat with one planned possess window per boss or elite spike.
- Practice parking tower aim on the funnel before every possess.
- Practice strike-on-stack with stasis or meteor into a wire line.
- Graduate to Endless once possess exits no longer cause leaks.
Next reads
- Kits: Warden, Marksman, Sentinel
- Aim recovery: How to Aim
- Funnels: High Ground
- Hub index: Guides Hub and Players Hub
- Inputs: Tools Hub → Controls
Heroes are multipliers. Towers and aim remain the engine.
Frequently Asked Questions
Quick answers to the most common Horde Defenders questions.
Should I possess heroes all the time?
No. Possess for bosses, breaches, and precise ability windows. Leave AI on during heavy tower-aim phases so the main column never goes unattended.
Which hero should I unlock first?
Pick the kit that matches your aim comfort — Marksman for precision players, Warden for front-line holds. Confirm current unlock order in-game and compare the heroes tier list.
Do strikes replace tower aim?
Never. Strikes clear stacked clumps. After the impact, immediately return the reticle to the densest living column.
Can heroes solo a map without towers?
Not reliably in campaign or Endless. Heroes support funnels and high-ground guns; they do not replace the 18-tower roster.
What are the main strikes?
Drone strikes, meteors, ripsaws, salvos, and stasis fields. Use them when bugs are stacked on Barricades, wire, or Tar for maximum value.
Where can I read each hero in detail?
Open the Players Hub pages for Warden, Marksman, and Sentinel, then cross-check the heroes tier list after patches.